DIY Concrete Planter Box For Succulent Plants
Plants have ever been a go-to in interior pattern, but over a decade or so they became second to a more than man-made alternative. Art, ceramics, and flower bouquets became a preferred alternative to decorate tables and window ledges. Instead of dark-green, nosotros take gone for human being-fabricated. But at present these two worlds are combining. A shift back to 1970'southward interior styles has given usa gratis roam to create miniature jungles in our homes.
 View in gallery
 Using a combination of large potted business firm plants, spectacular succulent combinations and greenery hanging from every corner nosotros tin create a tropical earth full of color, life and vibrance. An ever-growing style of decorating that changes with the flavour.
Related:DIY Planters You Can Brand From Scratch Or Recycled Materials
 View in gallery
 The only trouble we take is finding pots to keep all of these plants in now. This is where we tin can bring our ain ideas and creativity into the mix. Making your own planters doesn't need to be complicated or difficult. As long as you take a waterproof container to grab the excess water in y'all can use any material to construct a planter that is completely unique. Call back material, metal, clay or even physical. I've institute it's useful to collect sparse plastic nutrient containers that are easily cut to size for this purpose. I've made this small succulent garden using one of these containers to concur the plants. It'due south really so much easier than it looks.
 View in gallery
 Materials you'll need to build a concrete planter:
- Non-stick cake blistering tray
- Small, plastic container
- Concrete
- Throw away container for mixing concrete
- Throw away stirrer for mixing physical
- Scissors
- Blueish/White Tac
- Modest succulents
How to brand a concrete planter box:
 View in gallery
  View in gallery
 Step 1: Finding a plastic container
Cutting downwards (or choose) a plastic container that is shallower than your blistering tray. You will need it to exist at least one cm smaller to allow a sturdy layer of physical to form underneath.
 View in gallery
  View in gallery
 Pace two: Add together the plastic container into the tray
Curlicue out a long sparse tube of Tac and printing it onto the inside of the modest container. Make sure that the Tac comes upwards over the edges of the container just slightly without folding over onto the outer edge. Press this downward onto the inside of the baking tray. Yous can position it where ever you would like the pigsty for the plants to exist. I've gone for the middle of the block.
At this point you should embrace the remaining surface of the tray with a thin layer of either Vaseline of cooking spray to make removing the fix concrete easier later on.
 View in gallery
  View in gallery
 Step iii: Set the concrete mixture
Mix the physical according to the packaging instructions and pour information technology into the tray. Concord the container in place while you pour a footling concrete all around the base to stop information technology shifting out of place. If you're using a small container to mix the physical you might need to repeat this pace a number of times until the tray is completely full and you cannot see the small container anymore.
 View in gallery
 Footstep 4: Remove air bubbles
Now the tray is full of concrete wiggle information technology gently to encourage all of the air bubbling to rise to the surface.
 View in gallery
 Step v: Let it dry
Leave to ready for at to the lowest degree 3 days. Don't be tempted to remove the physical before every bit it will exist brittle and suspension or crumble. After three/iv days carefully pull the sides of the baking tray out to break the seal between the tray and the concrete. Then plow the tray onto a flat surface much like yous would turn a block onto a plate – resting the surface on top of the tray and so turning them both together at the same time. Gently tap the tray whilst upside down to release the concrete.
 View in gallery
 Footstep half dozen: Ready for sanding
One time you've taken the concrete out of the tray exit for another couple of hours so that the surface can be exposed to the air and harden fully.
 View in gallery
 Stride 7: Sand paper the edges
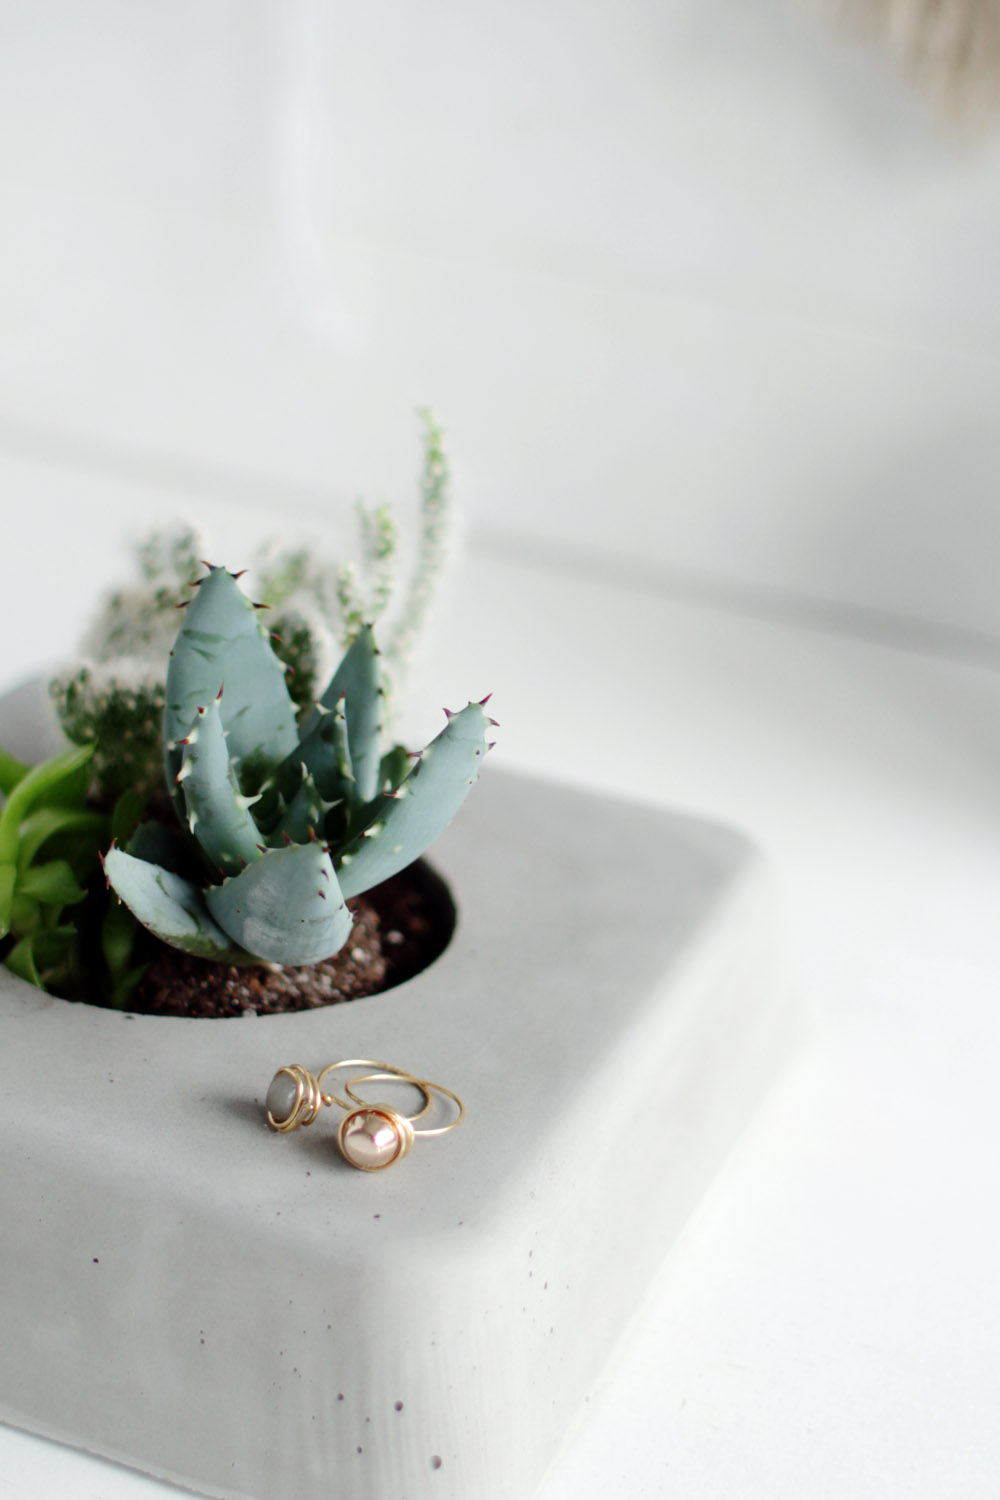
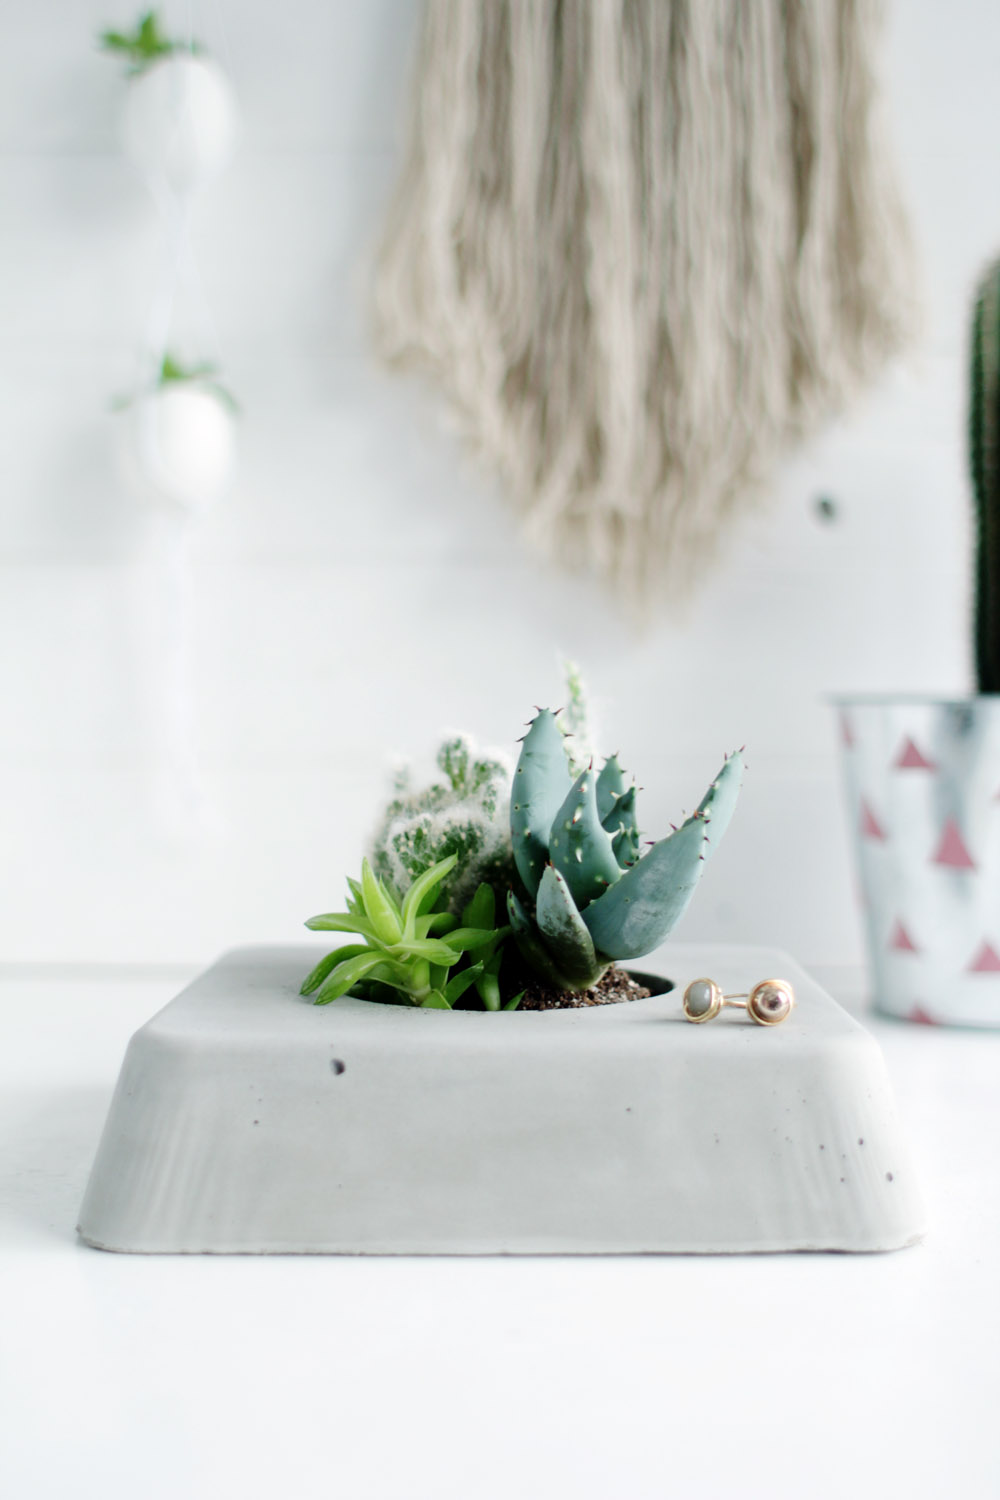
Remove the Tac and sand downwardly whatever rough edges with a fine sanding paper. All that's left to practise now is decide which succulents to constitute in your new garden!
 View in gallery
  View in gallery
  View in gallery
  View in gallery
  View in gallery
  View in gallery
  View in gallery
 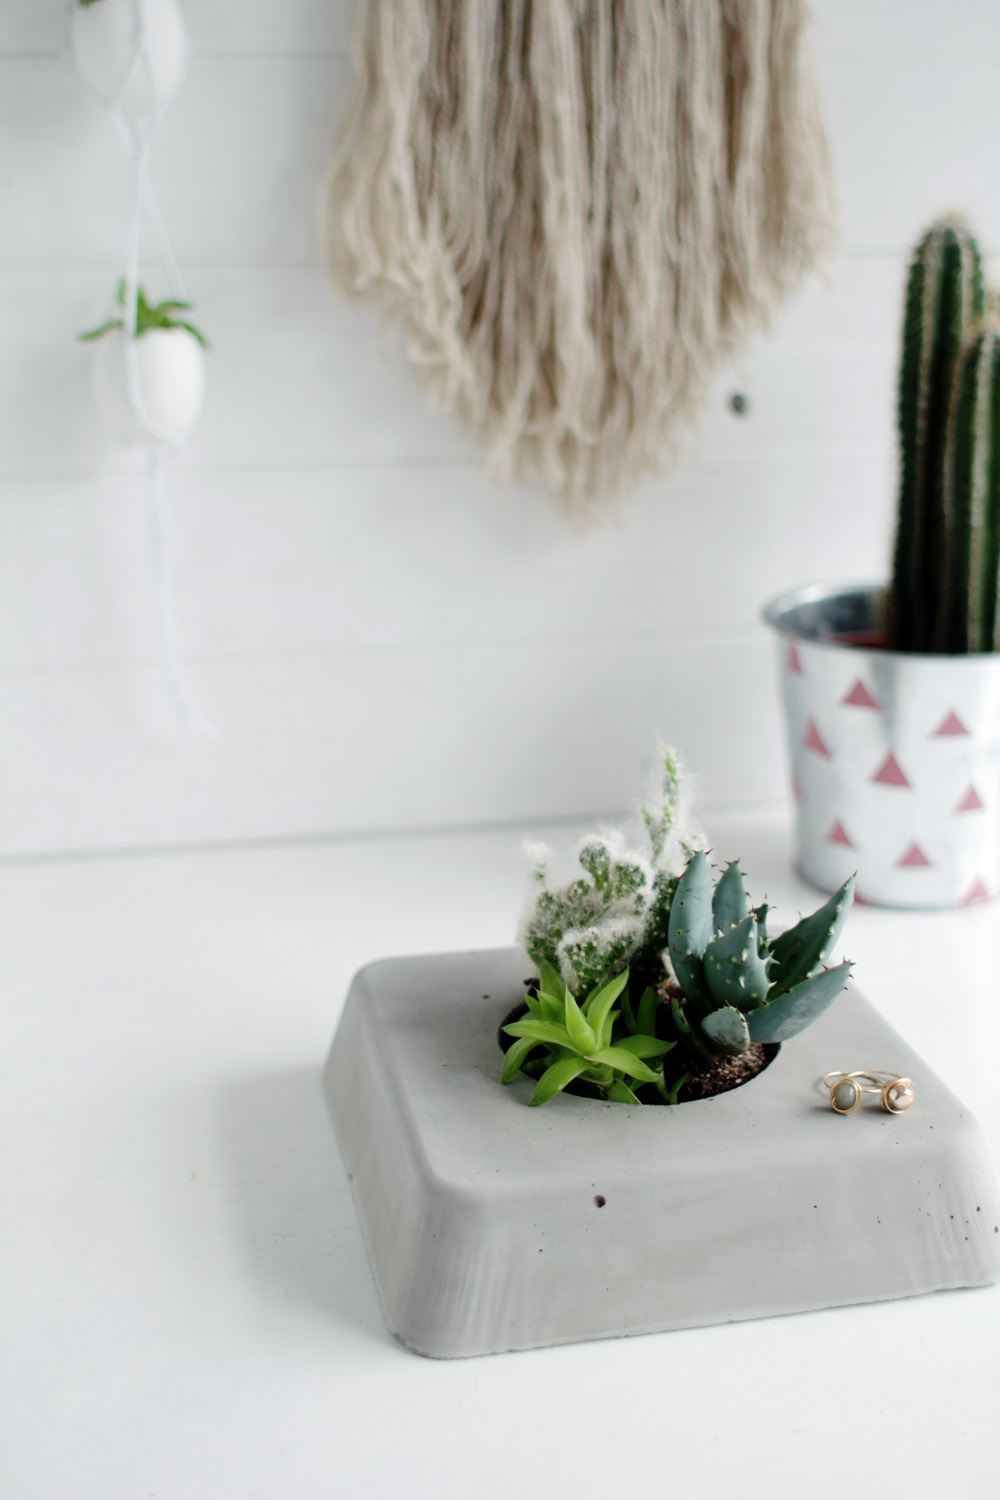 View in gallery
  View in gallery
  View in gallery
 The thing I recollect I dearest the most about this design is its versatility. Utilise whatever shape cake tray to become unlike looks. You can also use the planter in a range of different places. Information technology makes a actually unique table centerpiece, a slap-up workspace keep-safety infinite or even uses the planter as a doorstop to get a little green in every infinite you tin!
Source: https://www.homedit.com/concrete-succulent-planter/
0 Response to "DIY Concrete Planter Box For Succulent Plants"
Post a Comment